How To Do Facial At-Home: Step-by-step Guide
Published on: 27th May 2024 by Digital Team
Who would not want a facial that makes them glitter like a health spa? Luckily, there is still glowing skin without spending much for a spa. In this step-by-step tutorial, we will guide you through how to do a facial at home. Prepare for self-indulgence and reveal the natural beauty hidden beneath everyday drudgery.
Benefits of At-Home Facial
There are many advantages to having an opulent facial from the comfort of your own home, and apparent cost savings are one such reason. Well, then, let’s explore some unique benefits that come with joining the revolution of the do-it-yourself face.
1. Specifically for Every Skin Type:
Most commercial spas provide generic service, but you and your skin are two different people. With DIY facials, you can adjust every step according to your skin's needs. Whether you want to address dryness, acne, or aging signs, you can tailor your facial routine to target your issues.
2. Affordable Beauty:
One of the most significant benefits of do-it-yourself facials is that they are cost-effective. Spa services charge a lot, but you invest in having your house feel like a spa without inducing a big hole in your pocket just to enjoy skincare indulgences. A one-time investment in high-quality skin care tools and products can make a huge difference.
3. Comfort of Known Environments:
There's just something about being in the confines of your own home that is so genuinely soothing. DIY facials do this up a notch with added spa comfort and satisfaction since doing the most relaxing beauty routine in the coziest place is part of feeling the most comforting.
4. Flexible Scheduling:
Life gets crazy, and a spa appointment is not always on the cards. DIY facials will allow you to take care of the skin whenever it fancies you, be it in the dim hours of the night for a glow or at dawn for renewal.
5. Educational Skincare Journey:
Start your DIY facial adventure by familiarizing yourself with all the substances and procedures involved in skincare. Go through the different substances and modalities used quickly to get a general idea of what might be involved and, hence, a better appreciation of what your skin would do. Very soon, your skincare regime will become extremely enlightening and empowering as you learn what your skin needs.
6. Testing Natural Substances:
Commercial skin care products often include a long list of ingredients, some of which are less than ideal for your skin type. Do-it-yourself facials encourage experimentation with ingredients duplicated from nature, such as avocado, yogurt, and honey. This can bring astounding advantages and make your routine a little fun.
How To Identify Your Skin Type And Needs For Facial

Understanding your skin type is important in creating a skincare routine that works well for you. Here is a guide to help you determine your skin type and learn how to care for it with the right facial products.
1. Cleansing and Seeing:
Start by washing your face using a mild cleanser. This will remove all makeup, grime, and oil that may interfere with the evaluation process. After cleansing, do not use anything on your skin for one hour.
2. Examining Your Skin:
After 60 minutes, check your skin in daylight and note the following characteristics.
-
Normal skin is appropriately balanced, meaning it is neither oily nor dry. It has an even texture, tiny pores, and few blemishes.
-
Oily skin looks shiny, especially in the T-zone areas (forehead, nose, and chin). It often has larger pores than normal skin and is prone to acne or blackheads.
-
Dry skin may feel tight and have rough or patchy areas. Usually looking lackluster, this type of epidermis can become easily irritated, leading to fine lines appearing on it.
-
The combination kind has different skin types in various parts of the body. Typically, the forehead is oily, while the cheeks are normal or dry.
-
Sensitive skin quickly gets red from any environmental factor or product.
3. The Blotting Sheet Method:

This technique will help validate your findings. Pull out a clean blotting sheet and press down on several areas of your face: forehead, nose, chin, and cheeks. Investigate the quantity of oil that you have accumulated. Normal skin will show little oil residue on the blotting sheet.
Oily skin will produce immense evidence of oil in the sheet, mainly around the T-zone. Dry skin will give little or no evidence of oil from the blotting paper. Combination skin would make the T-Zone look much oilier compared to the cheeks. Skin sensitivity can show areas of blotchiness or redness when blotted or irritated.
4. Understanding the Skin Needs:
After you have established your skin type, it is crucial to select the correct products that would serve your individual needs.
-
If you have normal skin, choose a hydrating cleanser with light formulations. Get a lightweight moisturizer that is not greasy. Gently exfoliate weekly to keep the texture smooth. And don't forget to put on broad-spectrum sunscreen daily.
-
Choose a foaming or gel wash designed for oily skin. Use a light moisturizer or a gel-type moisturizer that is grease-free. Use products that can be applied at night and include salicylic acid, as this can prevent pores from becoming blocked. One can also use a clay mask once a week to absorb the surplus oils.
-
Wash dry skin with a hydrating cleanser. Creams or emollient ointments can be applied to provide rich moisture. Exfoliation is gentle to slough off dead skin cells. Moisturizing serums with hydration enhancements.
-
A proper cleanser should be chosen that balances out the combination skin and does not dehydrate it. This can be followed up with a lighter moisturizer for the T-zone and a richer one for the drier areas. The oilier parts need more exfoliation, so it's particularly important to exfoliate these parts; a balancing toner is to be used afterward to normalize skin texture.
-
If you have sensitive skin, you may use a mild, fragrance-free cleanser. Apply a hypoallergenic, soothing moisturizer. Avoid harsh scrubs; if needed, use a chemical exfoliant. Aloe, chamomile, and other such ingredients calm the skin.
5. Tailoring Your Facial Routine:
Add some steps suitable for your skin type to make a successful facial, either by yourself or with a specialist.
-
Always commence with an appropriate cleanser to remove all dirt. To scrub off dead cells, select a mild exfoliant that suits your skin type.
-
A mask meant for your needs, be it moisturizing, clay-based, or calming, should be applied.
-
Toning is vital to balance the pH and prime the skin for moisture absorption.
-
Using specialized serums such as vitamin C for brightening or hyaluronic acid for hydrating purposes may also be appropriate.
-
It is essential to use an acceptable moisturizer to keep moisture on the skin's surface.
-
You should always wind up with day time sunscreen so as to safeguard you from UV rays.
-
By rightly recognizing what your skin is and understanding its requirements, you can have a custom-made skincare plan that leads to healthy, radiant skin.
Top Facial Products To Use For All Skin Types
The choice of the right facial products is crucial for a glowing and healthy-looking complexion. Some products can be utilized across different skin classes, even though there are different requirements for each. The best-rated facial products also cater to all kinds of skin, maintaining it hydrated, protected, and fully nourished at all times.
1. Gentle Cleanser: CeraVe Hydrating Facial Cleans:-
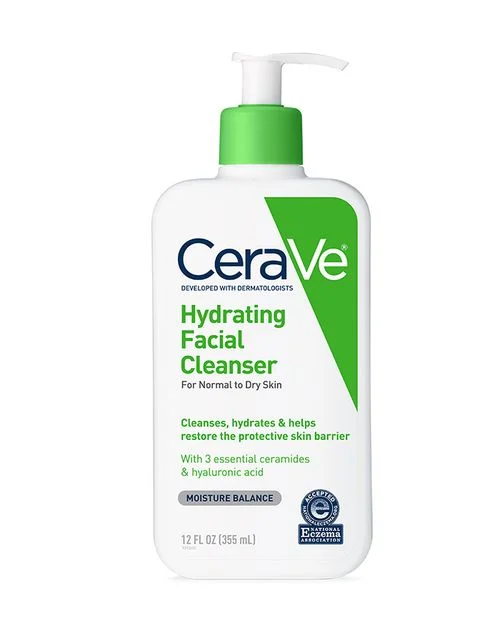
That said, the first step in every skincare procedure is cleansing, and the best product for all skin types is the CeraVe Facial Cleanser. The product is rich in ceramides and hyaluronic acid, which allows it to be moisturized while restoring the skin barrier. It gently cleanses the makeup without disrupting the skin's natural protective barrier. This hydrating facial cleanser is non-comedogenic and free from fragrance, making it gentle even for sensitive skin.
2. Hydrating Serum: The Ordinary Hyaluronic Acid 2% + B5:-
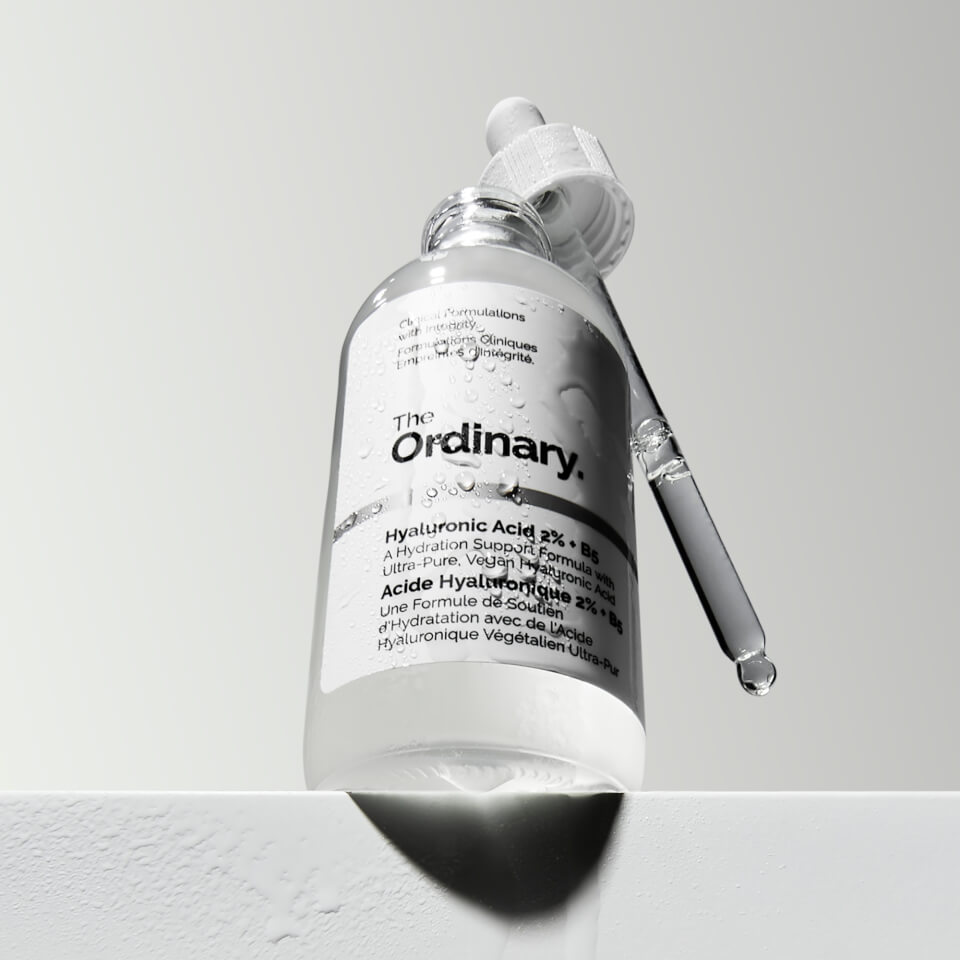
Hyaluronic acid is a powerhouse in moisturizing and works for all skin types. The Ordinary Hyaluronic Acid 2% + B5 is a lightweight serum that gets into the skin to add moisture and bounce. Further enhancing surface hydration is the presence of Vitamin B5 in this serum. This formula makes your skin supple and soft and helps restore texture and elasticity.
3. Hydrator: Neutrogena Hydro Boost Water Gel:-
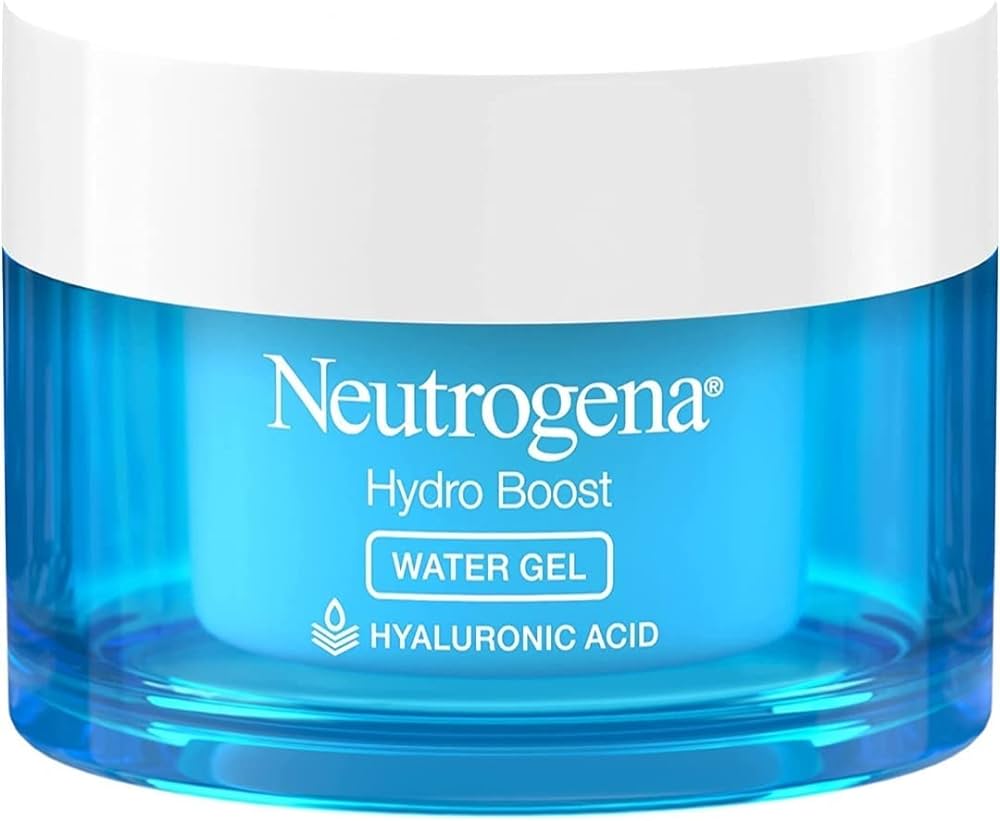
One good moisturizer is among the pivotal products required for maintaining skin hydration. Notably, Neutrogena Hydro Boost Water Gel is noteworthy, as it is unparalleled in its class of water gels. It immediately surges skin with moisture upon application but does not leave a greasy feeling. It locks in hydration and keeps releasing it during the day with the help of hyaluronic acid. Oil-free non-comedogenic, it is suitable for sensitive and acne-prone skin.
4. Sunscreen: La Roche-Posay Anthelios Melt-in Milk Sunscreen SPF 100:-
.jpeg)
Sunscreen is necessary for all skin types, and La Roche-Posay Anthelios Melt-in Milk Sunscreen SPF 100 provides broad-spectrum protection. It uses Cell-Ox Shield technology, which merges UVA/UVB filters with antioxidants. Non-greasy and lightweight, the sunscreen blends easily into the skin, making it ideal for everyday use. At the same time, it does not have fragrance and can be used by people with sensitive skin, thus providing wide-ranging sun protection that can irritate.
5. Exfoliant: Paula's Choice Skin Perfecting 2% BHA Liquid Exfoliant:-
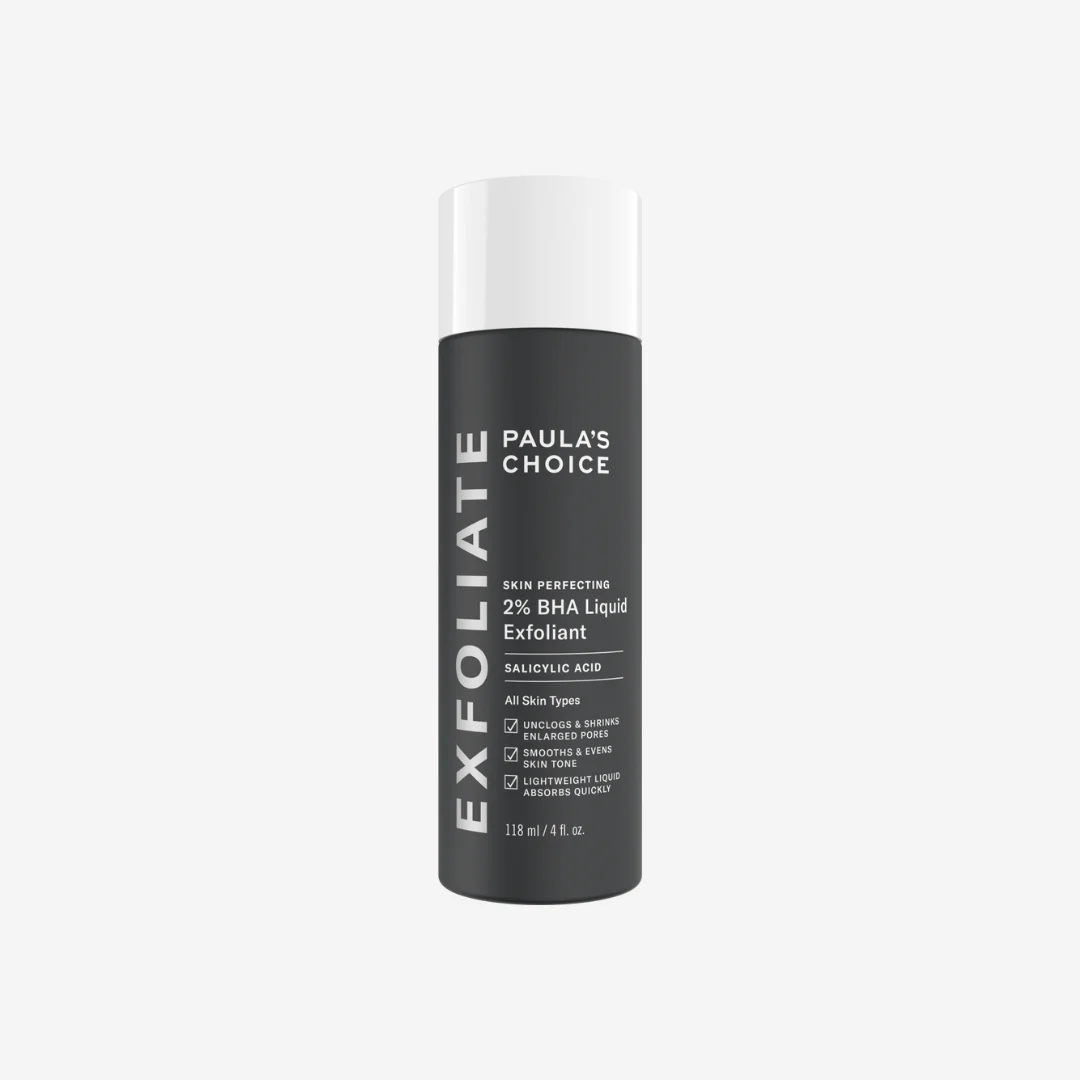
Paula’s Choice Skin Perfecting 2% BHA Liquid Exfoliant has salicylic acid, which mildly peels off layers of dead cells on top to reach deep within dermal pores, allowing for the natural extraction of oil while helping blackheads, pimples, and fine lines disappear without aggravating your skin.
6. Face Mask: Origins Clear Improvement Active Charcoal Mask:-
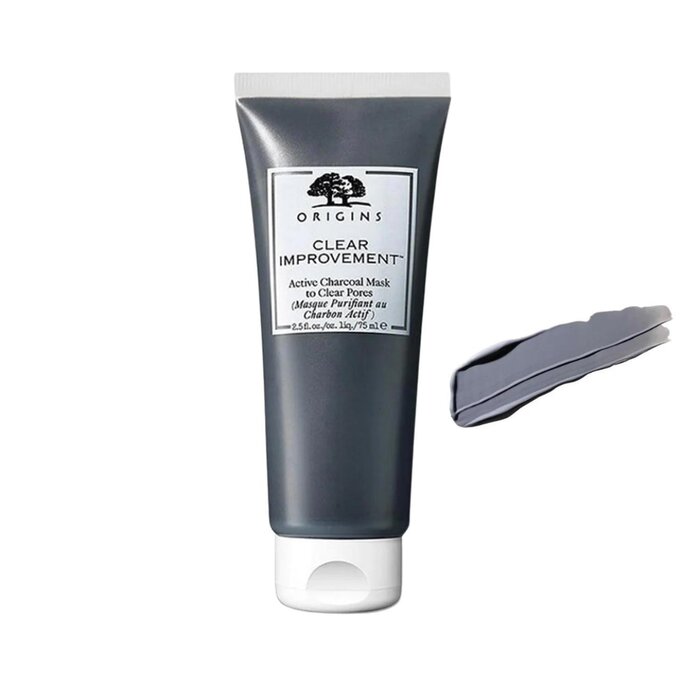
The Origins Clear Improvement Active Charcoal Mask is a versatile choice. It uses activated charcoal to remove impurities and toxins, leaving your skin refreshed and clean. Additionally, it contains white China clay and lecithin to absorb excess oil and improve skin clarity.
How Often Should You Do At-Home Facial?

The key lies in understanding the frequency of an at-home facial: not too much, as it can be irritating, and not too little, which may not give you the benefits you seek.
1. Skin Type Considerations:
-
Normal Skin: With a normal skin type, one can undergo a facial at home once every week. It will leave your skin in a balanced, clean, and moisturizing state quite often without causing irritation.
-
Oily skin: For this skin type, at least twice a week, the individual should do an at-home facial to help control sebum production and clear the pores. Clay masks and exfoliants are good products for controlling this excess oil; hence, breaking out would be minimized.
-
Dry Skin: Facials for dry skin levels can be done once every two weeks. This will strip the epidermis of essential oils and dry out the skin even further. For dry skin, Masks focus on rehydration and gentle exfoliation to maintain a smooth skin surface.
-
Combination Skin: This skin type should receive a facial once weekly. Pay special attention to the specific needs of your T-zone and dry regions, and use products that balance oils and dry patches.
-
Sensitive skin: This should easily handle an at-home facial every two weeks, or sometimes even less, depending on reactivity to products. Look for soothing, hypoallergenic ingredients and avoid anything with harsh exfoliants, which can be a skin irritant.
2. Key Steps and Their Frequency:
-
Cleaning: Cleansing should be done every day, but a more serious washing can be performed once a week as part of your facial care. Use a mild cleanser that suits your skin type—it will help you get rid of impurities.
-
Exfoliation: Exfoliation should be done once or twice weekly, depending on skin type. Overdoing it can be harmful. Thus, striking a balance is vital. For delicate skins, exfoliate at most once in seven days or even less.
-
Steaming: Steaming will open the pores and result in deeper cleansing. Afterward, steaming once per week will do for most skin types. Persons with sensitive skin may need less frequent steams, such as every two weeks.
-
Masks: The frequency at which you apply face masks depends on their type. Hydrating masks can often be used many times, even several times per week, while clay masks and those meant to cleanse deeply are best applied no more than once a week, especially if the skin is dry or sensitive.
-
Toning: Toning must follow cleansing each day as part of your daily routine. Use an appropriate toner during at-home facials that complement other treatments to pH-balance the skin.
-
Moisturizing: To keep moisture in and improve your complexion, use a richer moisturizer or hydrating serum when giving yourself a facial every day.
3. Special Considerations:
-
Age: Skin typically becomes drier and more fragile with age. Mature skin may need less aggressive treatments; hydration and gentleness of care might be more critical. Anti-aging masks and serums should appeal to concrete concerns.
-
Skin Conditions: If you have specific skin conditions such as acne, hyperpigmentation, or rosacea, then tweak the frequency of the facial according to your treatment guidelines. Consult with your dermatologist about advice on how often you should get one.
Tips On How To Do At-Home Facials Professionally
Pampering your skin with an at-home facial is a luxurious and effective way of taking care of it, maintaining its health, and addressing any specific concerns you might have. By adopting the right approach and techniques, you can achieve results similar to those in a professional spa. Here are some handy tips to guide you in performing at-home facials like professionals.
1. Create a Soothing Environment:
Build up to create a calming environment. Pick out a quiet place where you will not be distracted. Lower the lights, light candles, and play soft music that soothes. This ambient atmosphere will help you relax, which is good for your skin and overall well-being.
2. Gather All Necessary Supplies:
Having all your supplies ready before you begin is crucial. This includes:
-
A gentle cleanser
-
Exfoliator
-
Steamer or a hot water bowl
-
Face mask (clay, hydrating, or sheet mask, depending on your skin type)
-
Toner
-
Serum
-
Moisturizer
-
Soft towels
-
Facial sponges or cotton pads
3. Start with a Thorough Cleanse:

Start by washing your hands thoroughly so that they get clean. After that, clean away makeup, dirt, or impurities in a mild cleanser according to your skin type. Perform gentle circular motions for one minute. After that, rinse off thoroughly using warm water and pat dry with a clean towel.
4. Exfoliate Your Face:
For a glowing complexion, exfoliation is imperative- take care of this by using a gentle exfoliator to remove dead cells on the surface layer of your skin. If you have sensitive skin, choose chemical exfoliators containing alpha-hydroxy acids (AHAs) or beta-hydroxy acids (BHAs), more delicate than physical scrubs. Remember to use tender circular movements when exfoliating without much pressure on your face's surface.
5. Steam that opens your pores:
Steaming opens the pores for the next treatments to penetrate the skin. You can steam your face over a bowl of hot water or use a facial steamer, drape a towel over your head, and put your face in to catch the steam. Steam your face for about 5-10 minutes or until it is no longer too hot to be tolerable.
6. Put on a face mask:
Choose the mask appropriate to your skin needs. Using a clay mask will draw out excess oil and other impurities in case of oiliness or pimples. If you have dry or sensitive skin, a mask should help bring back the moisture. Apply your mask in an even layer onto your face, avoiding your eye area, and leave it on for several minutes. Rinse off with lukewarm water.
7. Tone to Balance:
When you have finished, cleanse your face of the mask and apply a toner to your skin. It will help to rebalance your skin and remove any leftover impurities from your pores. Using a piece of cotton, gently swipe across your face with the toner, or if you like to be a little more direct, pat it on with your hands.
8. Serum Treatment:

However, serums are usually super concentrated for the single purpose of addressing skin issues like dehydration or brightening. Just put some drops of the serum on your palm and dab them gently on your face. Apply the serum only after it has been entirely absorbed within your skin.
9. Hydration Locking through Moisturizing:
Always end with a moisturizer that suits your complexion type so that you can seal in benefits from prior steps and keep the skin hydrated. Start applying it from below in upward movements, stroking gently as well, then remember to apply up to the neck area, including the décolletage.
10. A rub Down for Better Circulation:
Take a facial massage into account to increase blood flow and aid lymphatic drainage. With your fingers or face roller, you should undoubtedly put gentle pressure on your face upwards and outside. At this stage, you will unveil facial muscle relaxation, leading to improved absorption of dermal products.
Conclusion:
Doing a professional at-home facial requires proper planning, appropriate products, and knowledge of techniques. Adhering to these procedures will make one’s own bathroom appear like a spa experience that not only indulges but also supports one's specific needs. Regular facials done at home help maintain a healthy, glowing skin complexion and offer relaxing moments away from our daily lives.